WooCommerce Plugin
Pre-Requisites
- WooCommerce 3 (tested up to WooCommerce 5)
- SSL installed on your site and active on Checkout pages
- cURL for PHP installed on your site
- An OmniFund account, and a set of API Access Key pairs to use, generated by visiting Profile > API Access on the OmniFund site.
Automatic Installation
- Login to your site’s WordPress Dashboard
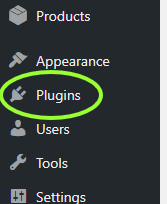
- Click on Plugins on the menu.
- Click the Add New button at the top.
- Enter WooCommerce OmniFund Gateway into the search box.
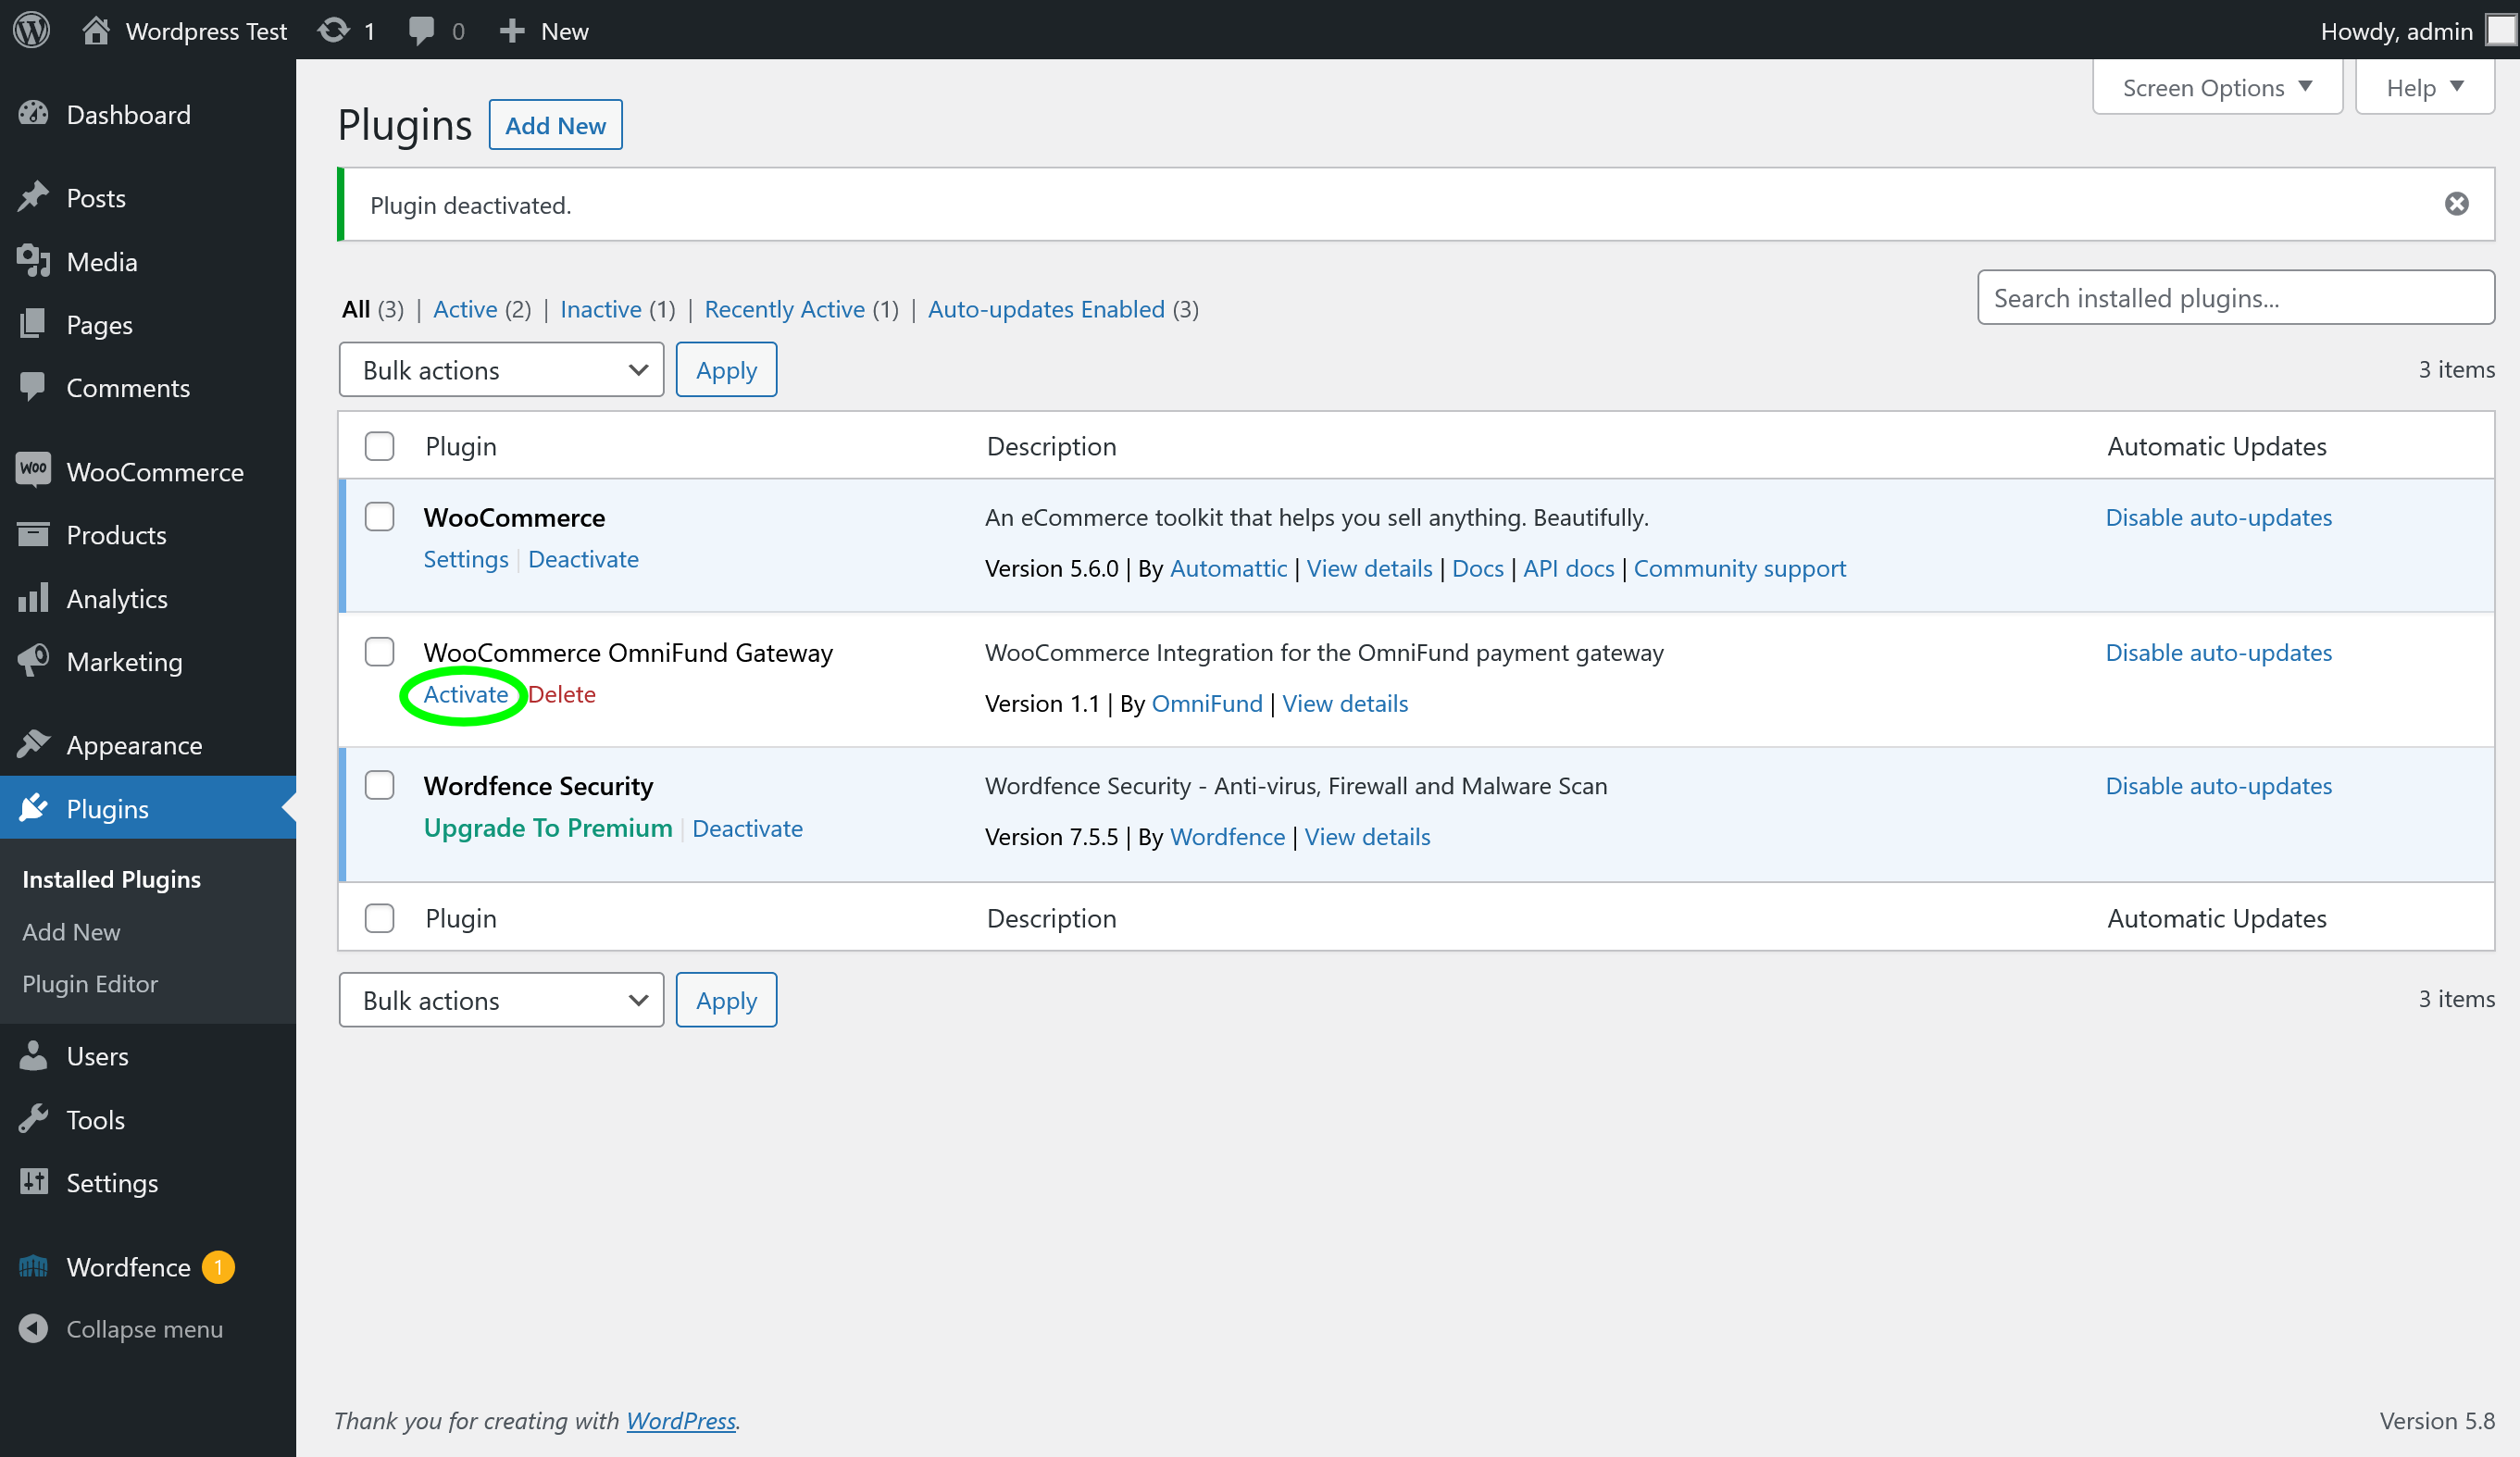
- Find the plugin in the list, and click Install Now
- Once installed, click Activate
Manual Installation
- Download the OmniFund WooCommerce plugin (https://wordpress.org/plugins/woo-omnifund-gateway/)
- Unzip the file and upload its contents to the wp-content/plugins/ directory of your site.
Configuration
- Login to your WordPress Dashboard
- Click on Plugins in the navigation menu.
- Ensure that WooCommerce OmniFund Gateway is installed and activated. If it is not installed, please follow the Automatic or Manual installation steps above, and then return to this screen, and click the Activate link on the plugin
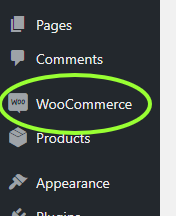
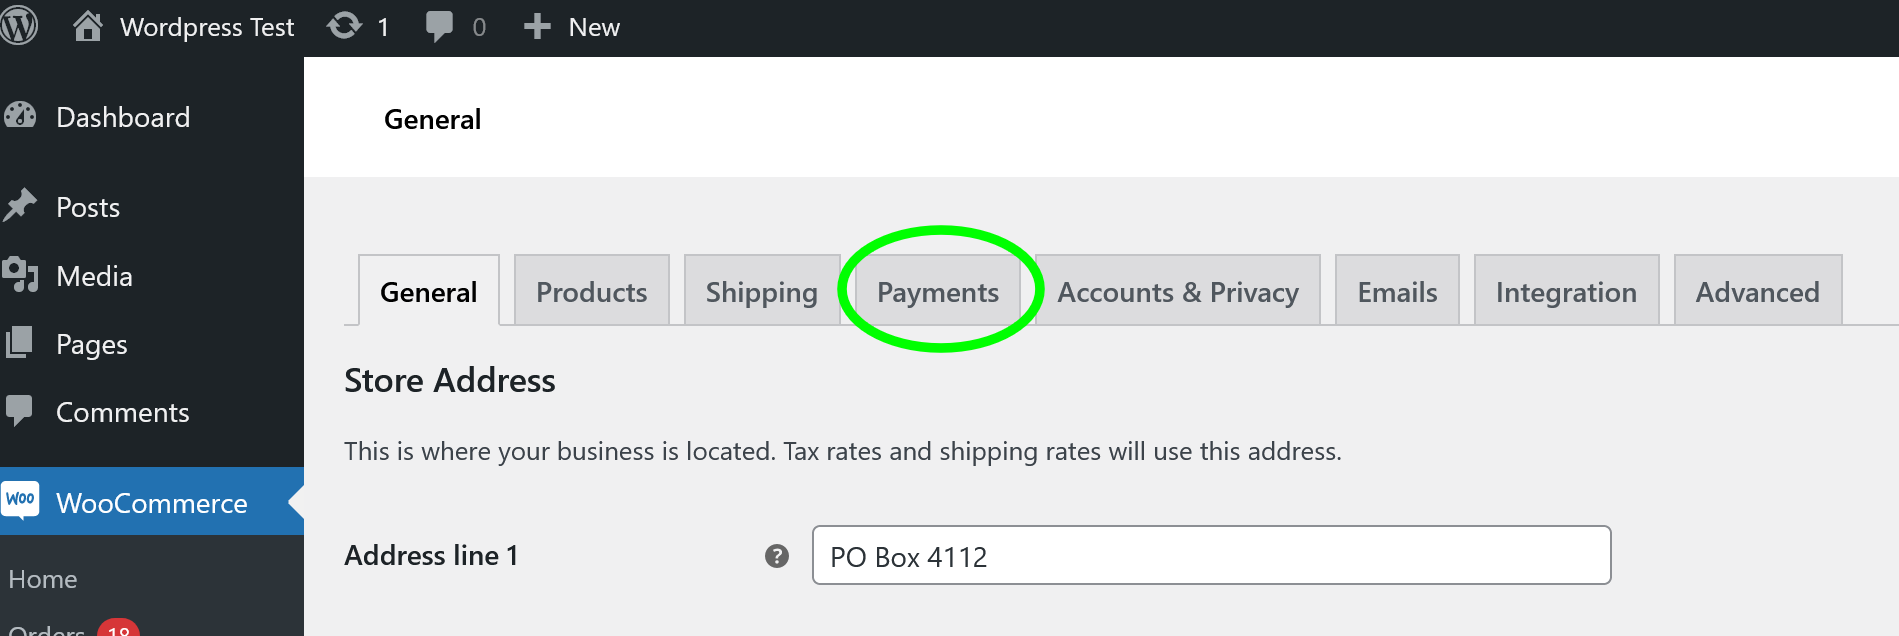
- Click on WooCommerce in the navigation menu.
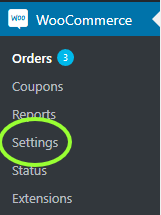
- Click on Settings under the WooCommerce section of the menu.
- Click on the Payments tab at the top of the settings screen.
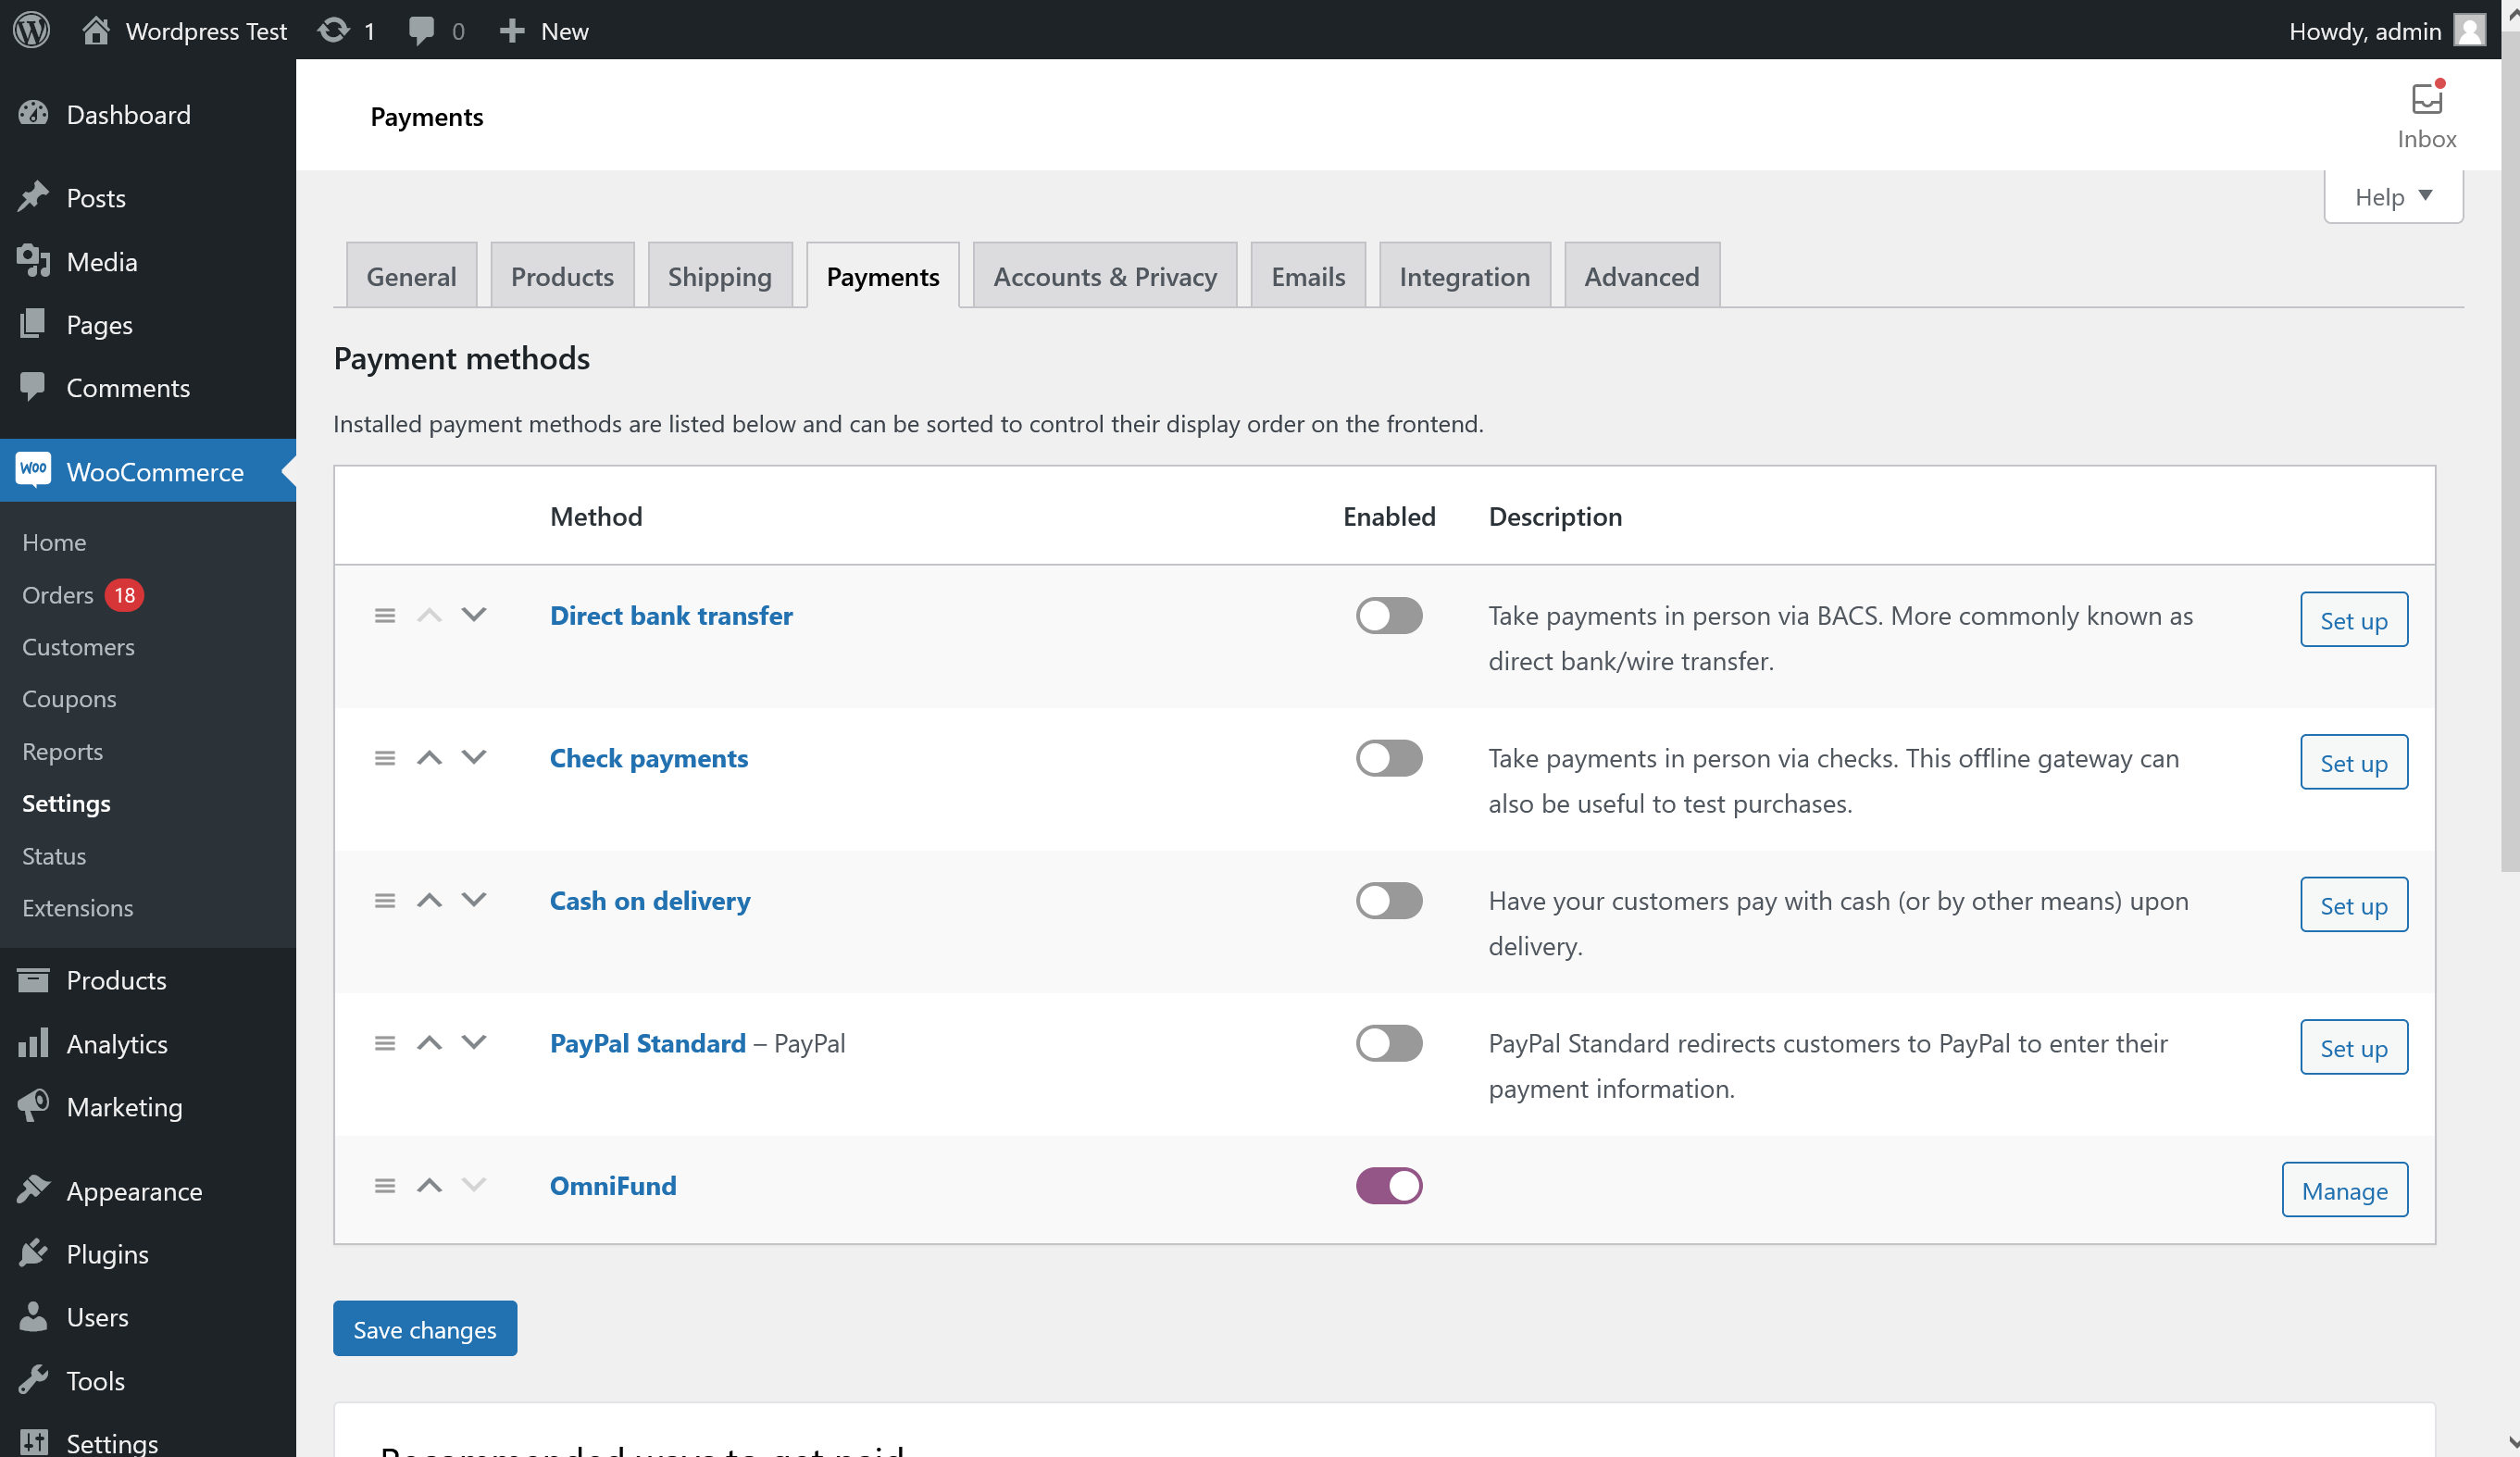
- Scroll to the bottom, and ensure that OmniFund is listed in the list of gateways (If not, proceed through one of the plugin installation options above). Click on the Manage button for OmniFund to load its configuration.
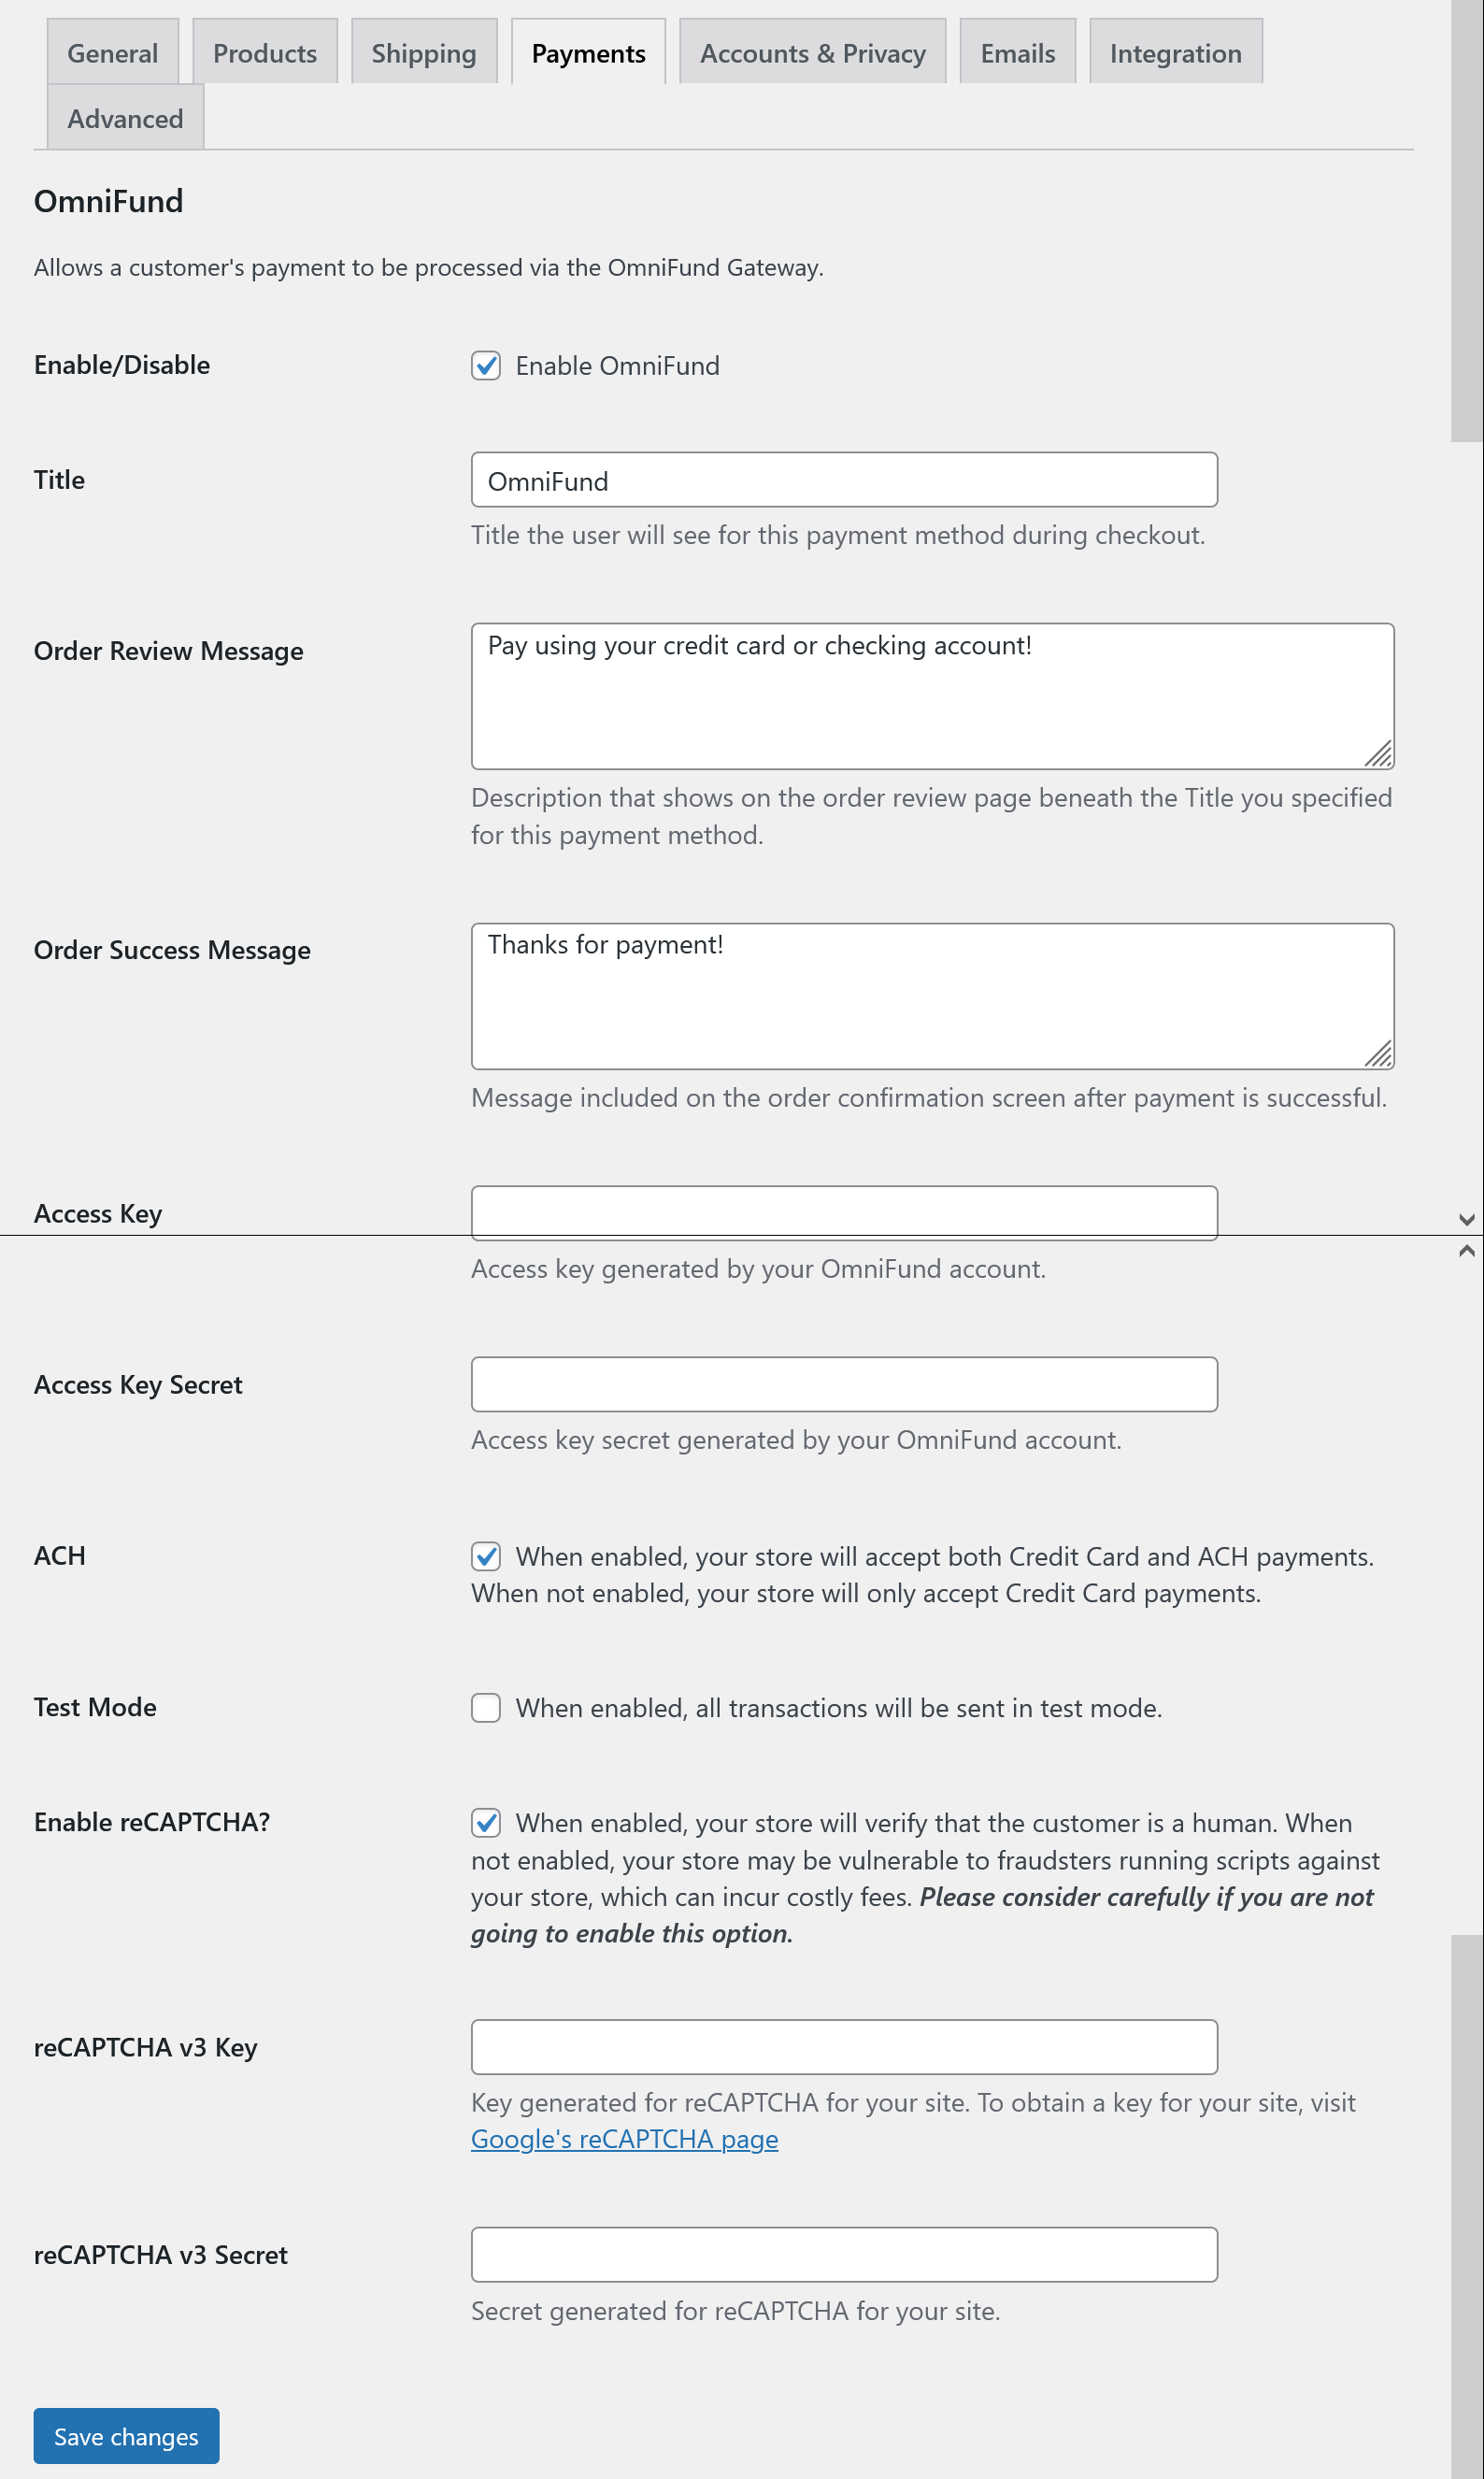
- Set the following settings:
- Enable/Disable should be Checked
- Title to the name you would like this payment method appearing as on your site
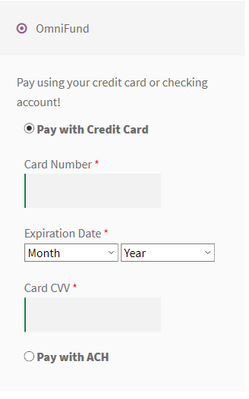
- Order Review Message can be blank, or can be a description you want included in the checkout process under this payment plugin’s title.
- Order Success Message can be blank, or can be a description you want included on the Checkout Success screen.
- Access Key to the Access Key generated under Profile > API Access on the OmniFund site.
- Access Key Secret to the secret accompanying the Access Key
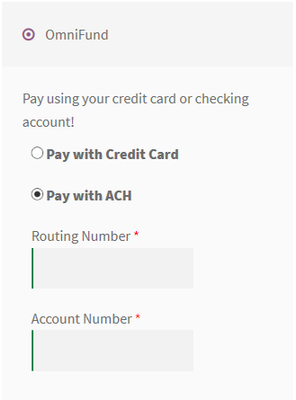
- ACH should be Checked if you would like to accept both ACH and Credit Card payments on the site. Otherwise, leave this unchecked to only accept Credit Card payments.
- Test Mode should be Checked if you would like to begin by sending test transactions, and Unchecked if you are ready to process live transactions on the site.
- Enable reCAPTCHA? Check this box to have reCaptcha automatically included in the checkout process. If this is not enabled then you are opening up the website for scammers to run scripts against your store, which can incur costly fees. The plugin uses Google's reCAPTCHA version 3, which is unobtrusive, and will rate the possibility of the user being a script/bot or a human without the necessity of having the user select specific pictures like version 2 did. The plugin will display a warning message at the top of its configuration if you do not have this enabled.
- reCAPTCHA v3 Key should be populated when you have reCAPTCHA enabled. To obtain a key, visit Google's reCAPTCHA page.
- reCAPTCHA v3 Secret should be populated when you have reCAPTCHA enabled. This information is provided when signing up via Google's reCAPTCHA page.
- Once this is setup, you will be able to accept Credit Card and ACH payments on your site!
Debug and Test Card Information
When using Test Mode (see Step 8 above), you can trigger the gateway to give you an approve, decline, or error response based on the the information sent over:
Card #s that will return an approval "G"
- 370000000000002
- 6011000000000012
- 4007000000027
- 5424000000000015
Card #s that will return a decline "D"
- 4222222222222
All other Card#s return an error "E"